
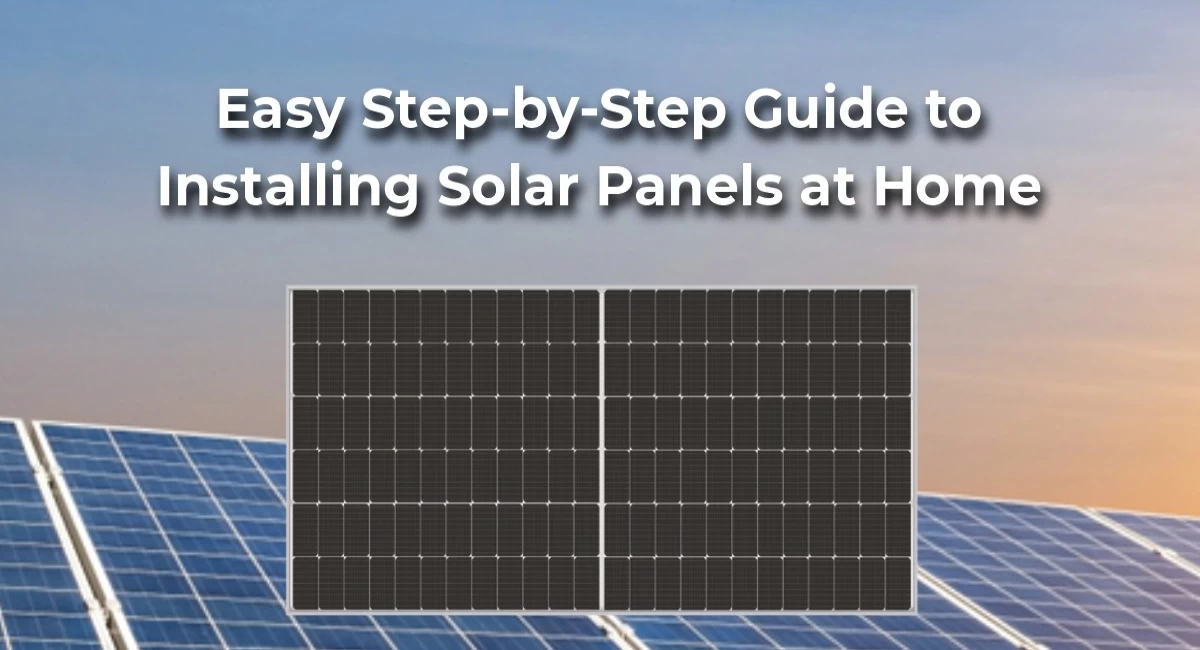
Solar energy is one of the most practical ways to generate electricity from a renewable source. If you have ever wondered how to make a solar panel, the basic idea is easier to understand than the industrial manufacturing process might suggest. A solar panel is essentially a group of photovoltaic (PV) cells connected together and protected inside a weather-resistant structure.
Commercial solar panels require specialized equipment, high-purity silicon, controlled environments, and advanced manufacturing processes. However, a small DIY panel can be assembled for educational projects, small off-grid applications, battery charging, or experiments.
This guide explains the basic process, required components, wiring concept, safety considerations, and limitations of making a solar panel yourself.
What Is a Solar Panel?
A solar panel is a collection of photovoltaic cells that convert sunlight into direct-current (DC) electricity. When sunlight reaches the semiconductor inside a PV cell, it transfers energy to electrons, creating an electrical current. Multiple cells are connected to increase the panel’s voltage and power output.
Most modern panels use crystalline silicon because it offers a combination of efficiency, cost, and durability. Commercial modules are constructed from interconnected cells placed between protective layers of glass and encapsulating material, usually with an aluminum frame around the edges.
Can You Really Make a Solar Panel at Home?
Yes, you can build a small functional solar panel using commercially available solar cells. However, there is an important distinction between assembling a panel and manufacturing photovoltaic cells from raw materials.
Making an actual silicon PV cell requires processes such as wafer production, chemical treatment, doping, surface coatings, and electrical-contact formation. These are industrial or laboratory processes rather than ordinary DIY procedures.
For a home project, the practical approach is to purchase ready-made solar cells and assemble them into a panel.
Materials You May Need
For a basic DIY solar panel, you can use:
- Solar cells with a suitable voltage and power rating
- Tabbing wire or suitable PV interconnect wire
- Bus wire
- Flux and soldering equipment appropriate for solar-cell connections
- A rigid backing board or suitable panel base
- Transparent protective material such as solar glass
- Encapsulating material suitable for outdoor use
- Junction box
- Blocking or bypass diodes where appropriate
- Waterproof connectors
- Aluminum frame or another durable frame
- Multimeter
- Appropriate electrical protection
The exact components depend on the panel size and intended application.
Step 1: Decide the Panel’s Required Output
Before connecting anything, determine what you want the panel to power.
For example, a small project might be intended to charge a battery or operate a low-power DC device. A larger installation requires considerably more planning because the panel is only one part of the complete solar system.
The number of cells you need depends on their individual voltage and current ratings and the voltage required by your application.
Remember that connecting cells in series increases voltage, while connecting compatible strings in parallel increases current.
Step 2: Arrange the Solar Cells
Place the cells on your work surface and determine how they will fit inside the final panel.
Handle crystalline silicon cells carefully because they can be extremely fragile. Avoid bending or pressing them unnecessarily.
A good layout should leave enough room for electrical connections and allow the completed assembly to fit inside the chosen frame.
Step 3: Connect the Cells
The next stage is electrically connecting the cells.
Solar cells have conductive contacts that allow current to be collected. In commercial manufacturing, cells are connected using ribbons and automated processes before being encapsulated into a module.
For a DIY project, cells can be interconnected using suitable tabbing or interconnect wire. Work slowly and avoid excessive heat or mechanical pressure because damaged cells can develop cracks that reduce their performance.
The connections should follow the voltage and current requirements established during the design stage.
Step 4: Test the Electrical Connections
Before permanently sealing the panel, use a multimeter to check the electrical output.
Test the panel under direct sunlight and verify that the measured voltage is consistent with the expected configuration.
This is an important step because fixing a bad connection after the panel has been sealed can be much more difficult.
Also check for accidental short circuits and loose connections before proceeding.
Step 5: Protect the Cells
Bare solar cells should not simply be left exposed to rain, dust, humidity, physical impact, and temperature changes.
Commercial modules place the interconnected cells between protective layers and laminate the assembly to create a durable, weather-resistant module.
For a DIY project, use materials specifically intended for solar-module encapsulation or outdoor electrical applications. Ordinary glue, household plastic, or an improvised covering may become cloudy, brittle, or allow moisture to reach the cells.
Step 6: Install the Junction Box and Cables
A junction box provides a protected location for the panel’s electrical connections.
Depending on the panel design, appropriate diodes can help manage current flow and reduce problems associated with shaded or malfunctioning sections. Commercial panels commonly incorporate diodes within the junction box.
Use appropriately rated cables, connectors, fuses, and other protective equipment for the voltage and current of your system.
Step 7: Add a Strong Frame
A frame provides mechanical support and helps protect the panel during handling and installation.
Commercial crystalline-silicon modules commonly use aluminum framing along with glass and encapsulating materials.
If the panel will be used outdoors, the frame should be resistant to moisture and corrosion and should hold the protective surface securely.
Step 8: Test the Finished Panel
Once the panel has been assembled, test it again in sunlight.
You can measure:
- Open-circuit voltage
- Short-circuit current, using an appropriate measurement method
- Output under a known load
- Performance under different sunlight conditions
Do not assume that the panel will produce its advertised theoretical output in every situation. Solar output changes with sunlight intensity, temperature, orientation, shading, and the characteristics of the cells.
How Does a Solar Panel Produce Electricity?
The process is based on the photovoltaic effect.
When sunlight reaches the semiconductor inside a solar cell, photons transfer energy to electrons. The cell’s internal structure allows those charges to be separated and collected through electrical contacts, producing DC electricity.
A panel combines many cells to produce a useful electrical output. In a complete household solar system, an inverter can then convert the panel’s DC electricity into AC electricity suitable for typical household electrical loads.
DIY Solar Panel vs. Commercial Solar Panel
A homemade panel can be useful for learning and small projects, but it normally won’t match a professionally manufactured module in durability, efficiency, weather resistance, testing, and long-term reliability.
Commercial production involves carefully controlled cell fabrication, electrical testing, lamination, framing, and quality control.
For powering a home, professional-grade certified modules are generally more appropriate than homemade panels. DIY solar projects are better suited to educational experiments, small off-grid applications, and understanding how photovoltaic technology works.
Important Safety Considerations
Electricity generated by a solar panel can be dangerous, particularly when multiple panels are connected together. Outdoor installations also introduce risks involving rain, heat, wind, batteries, wiring, and electrical equipment.
If you are planning to connect a solar system to household wiring or the electrical grid, consult a qualified electrician or solar professional. DIY installation guidance also warns that larger systems can present significant electrical and safety risks without appropriate training.
Never work on exposed electrical connections while ignoring the manufacturer’s safety requirements, and use components rated for the voltage, current, environment, and application.
Top Google Searches Related to “How to Make Solar Panel”
People searching for this topic may also use queries such as:
- How to make a solar panel at home
- How to make solar panel step by step
- How to make a solar panel with solar cells
- How to make a small solar panel
- How to make a solar panel for home
- How to make a solar panel for a school project
- How to make a solar panel from scratch
- How to build a DIY solar panel
- How to make a solar panel to charge a battery
- How are solar panels made?
- How to make a homemade solar panel
- How many solar cells are needed to make a solar panel?
- How much electricity can a homemade solar panel produce?
- Can you make solar panels yourself?
- What materials are needed to make a solar panel?
Frequently Asked Questions
1. Can I make a solar panel completely from scratch?
You can assemble a small panel yourself, but manufacturing photovoltaic cells from raw silicon is a much more complicated process. Commercial silicon PV production involves purification, ingot and wafer production, cell processing, electrical contacts, and module assembly.
2. How many solar cells are needed to make a solar panel?
There isn’t one universal number. The required number depends on the voltage and current characteristics of the cells and the electrical output you want from the panel. Cells connected in series increase voltage, while parallel connections can increase current.
3. Can a homemade solar panel power a house?
Technically, a sufficiently large solar array can generate substantial electricity, but building a reliable residential system is very different from making a small DIY panel. A home system also requires appropriate mounting, wiring, protection, power electronics, and often battery or grid-interconnection equipment.
4. Can I use a homemade solar panel to charge a battery?
Yes, a small DIY panel can be used in an appropriate battery-charging setup, but the charging system must be designed around the battery’s voltage, chemistry, charging requirements, and the panel’s output. A suitable charge controller may be necessary.
5. What type of solar cell should beginners use?
Ready-made crystalline-silicon cells are generally the simplest option for a basic DIY panel because they are widely used in commercial modules and are available in different sizes and electrical ratings. Silicon remains the dominant photovoltaic material in today’s panels.
6. Is making a solar panel cheaper than buying one?
Not necessarily. Commercial manufacturers benefit from large-scale production, automated equipment, standardized materials, and quality-control systems. For a small DIY project, the primary benefits are usually learning and customization rather than guaranteed cost savings.
7. How long can a solar panel last?
Modern commercial silicon modules are designed for long-term outdoor operation. The U.S. Department of Energy notes that silicon modules are expected to last 25 years or more while still producing more than 80% of their original power after that period.
Final Thoughts
Learning how to make a solar panel is a useful way to understand photovoltaic technology and renewable energy. The most realistic DIY approach is to purchase photovoltaic cells and assemble them into a properly protected module rather than attempting to manufacture silicon cells from raw materials.
For a small educational or off-grid project, careful cell arrangement, correct electrical connections, suitable protection, and proper testing can produce a functional panel. For residential or grid-connected applications, however, professionally manufactured equipment and qualified electrical installation are much more appropriate.
